We use cookies to give you a better shopping experience. By using this website or closing this message you agree to our use of cookies. Learn More
Allow Cookies
 Imprint Plus Canada
How to use NPGCloud?
- Navigate to http://npg.themightybadge.com/
- Select the big blue [Go to NPG Cloud] button at the bottom of the screen
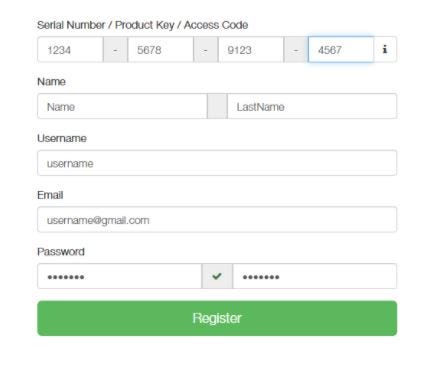
- If you are a new user click on the Register button and fill out the registration form
Here is a registration form example:
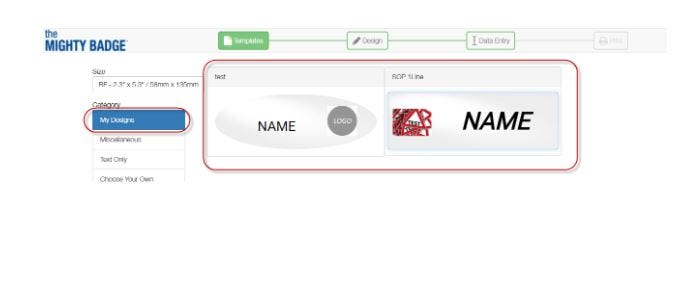
3. Click the Template menu at the top of your screen and then select the template you want by clicking on Category (menu on the left).
4. Once you create an account click Login and use your NPGCloud login credentials.
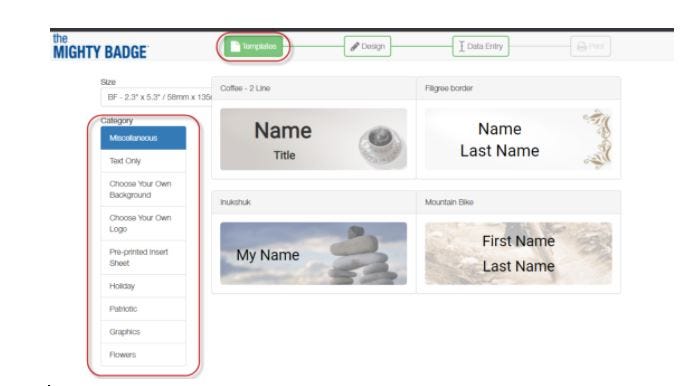
5. When you click on your choice of template, you will be redirected to the next Design menu.
On this screen, you can change the badge size, background, add a logo, or add more lines.
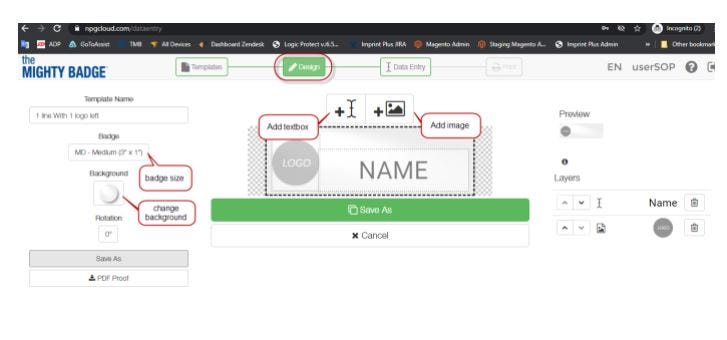
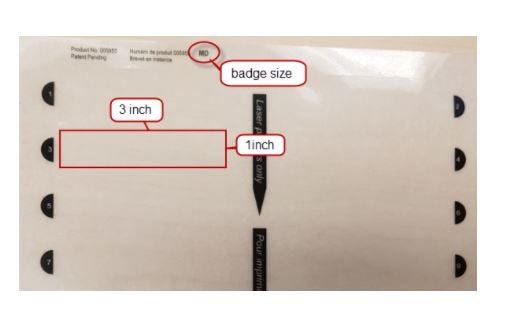
You can find the badge size on your inserts.
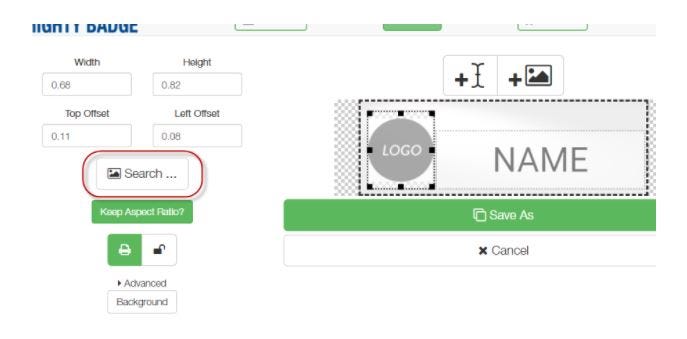
6. Adding a logo. Click on the logo image and the settings will appear on the left. To add your logo, click the Search button.
If you need to add more images, then click on the image icone with +
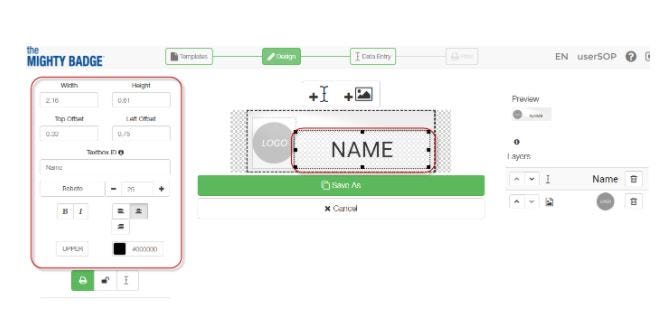
7. Text settings. Click on the text box and the settings will appear on the left.
If you need to add more text lines, then click on +
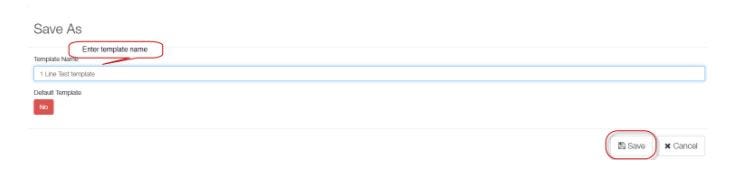
8. When the design is complete, click the Save As button to save your design.
9. All your designs will be saved in the My Designs category of the Template menu.
10. Data Entry menu. Enter your name in the text box and click the button +

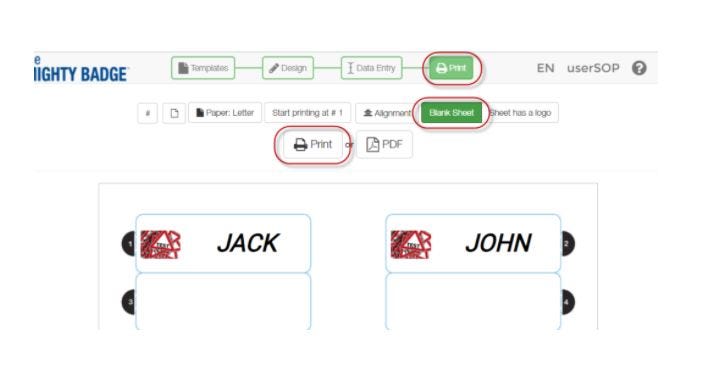
11. When all the name tags have been created, click the Print button. If your inserts are blank, click the Blank Sheet button.
To print your badges (click "print" ) or to save as a PDF file (click PDF).
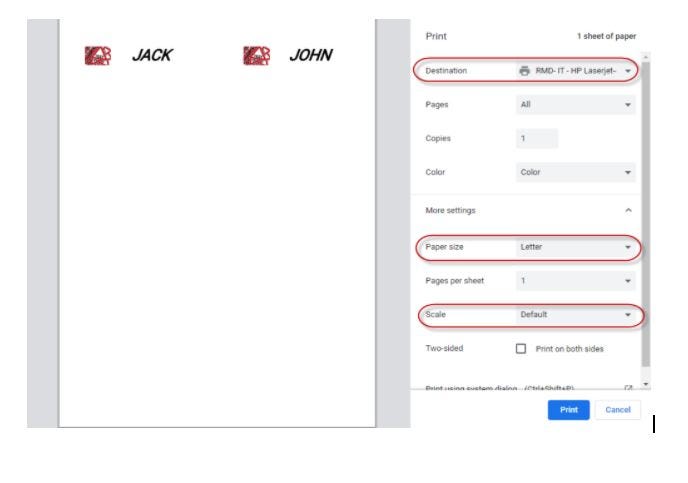
12. Print settings

Email US

Call US

Contact Form