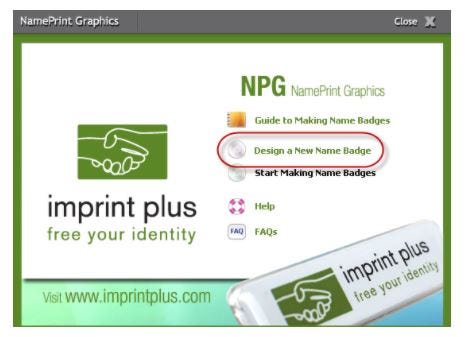
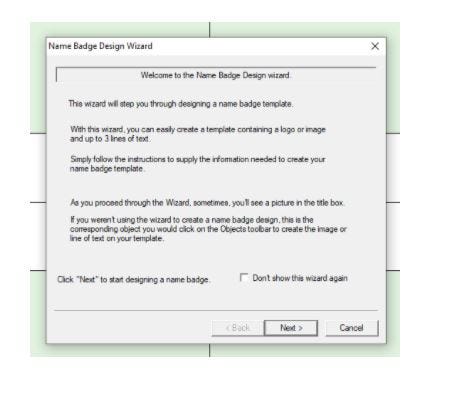
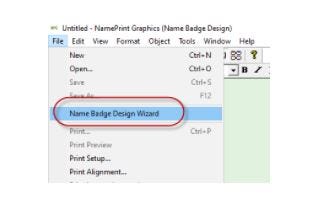
3. The design wizard will appear automatically (if it doesn’t, just click File -> Name Badge Design Wizard)
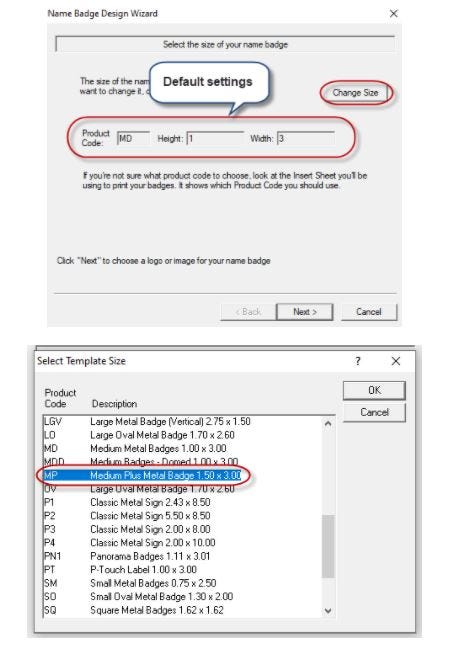
4. Select the size of your template (the default size is MD 1×3). If you need to change the size, click on the Change Size button, and select the desired size.
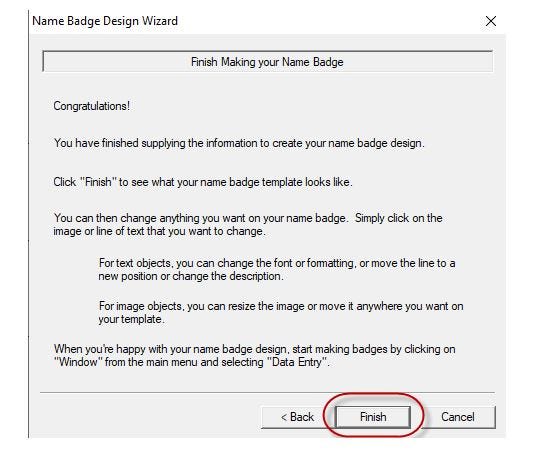
5. Follow the design wizard instructions.
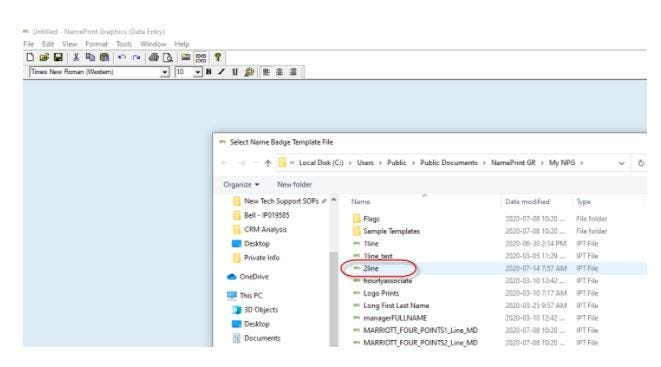
6. Once you create your template, it will be saved in the ‘My NPG’ folder at the following location on your computer C:\Users\Public\Documents\NamePrint GR\My NPG
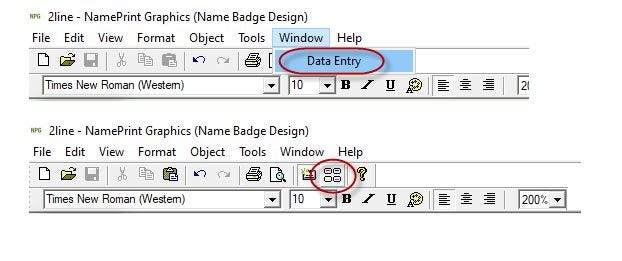
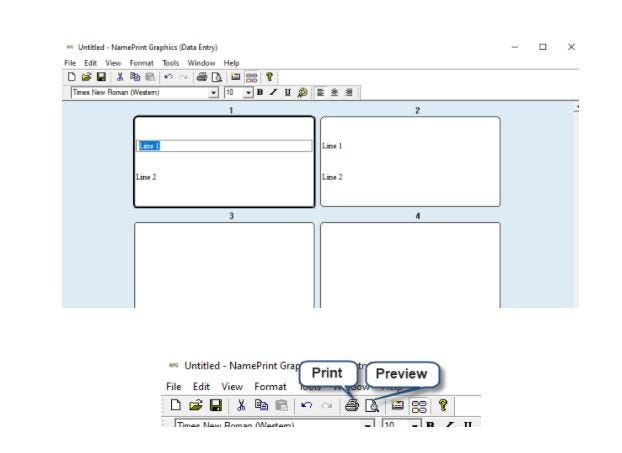
7. Click on Window -> Data Entry or click on the icon and enter the names you need to print.
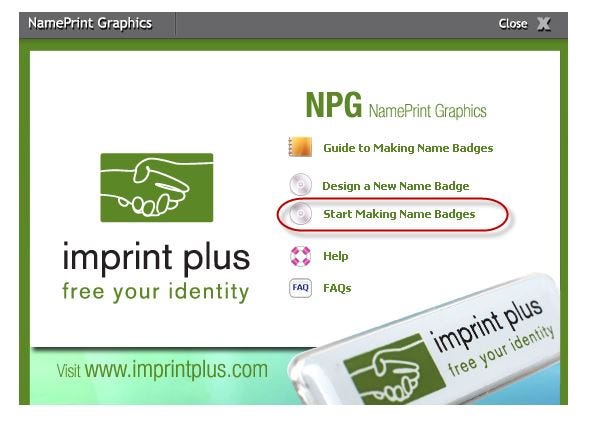
8. Next time you don’t need to create a new template.
When you open the NPG application, click on Start Making Name Badges, and select the pre-existing template you previously created.